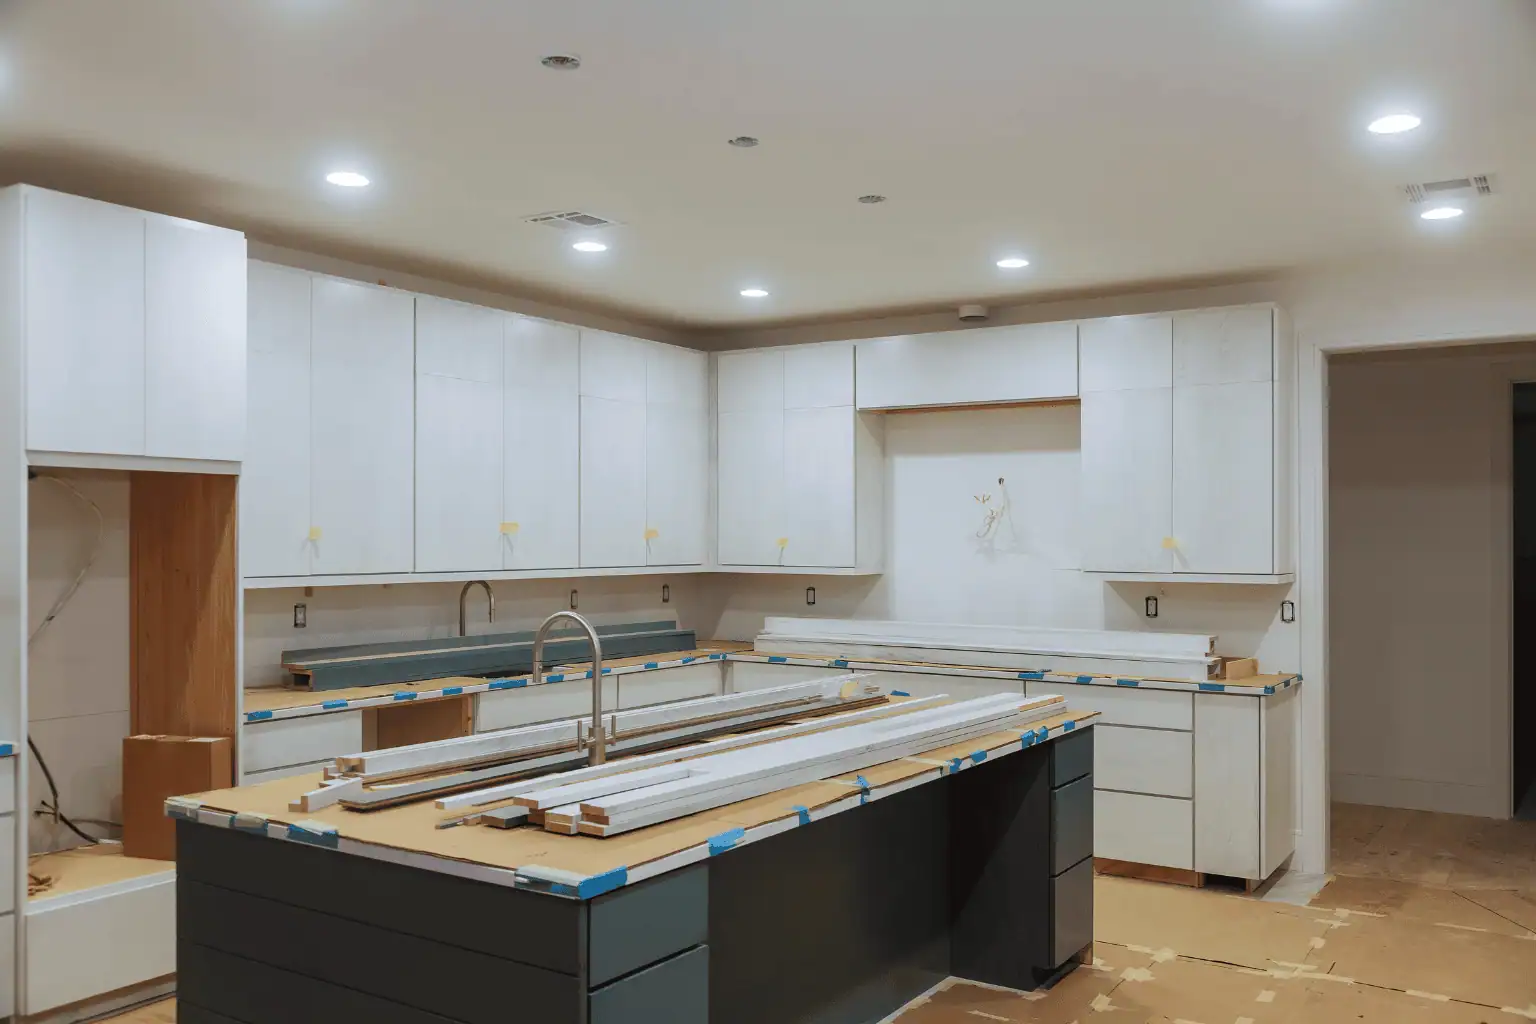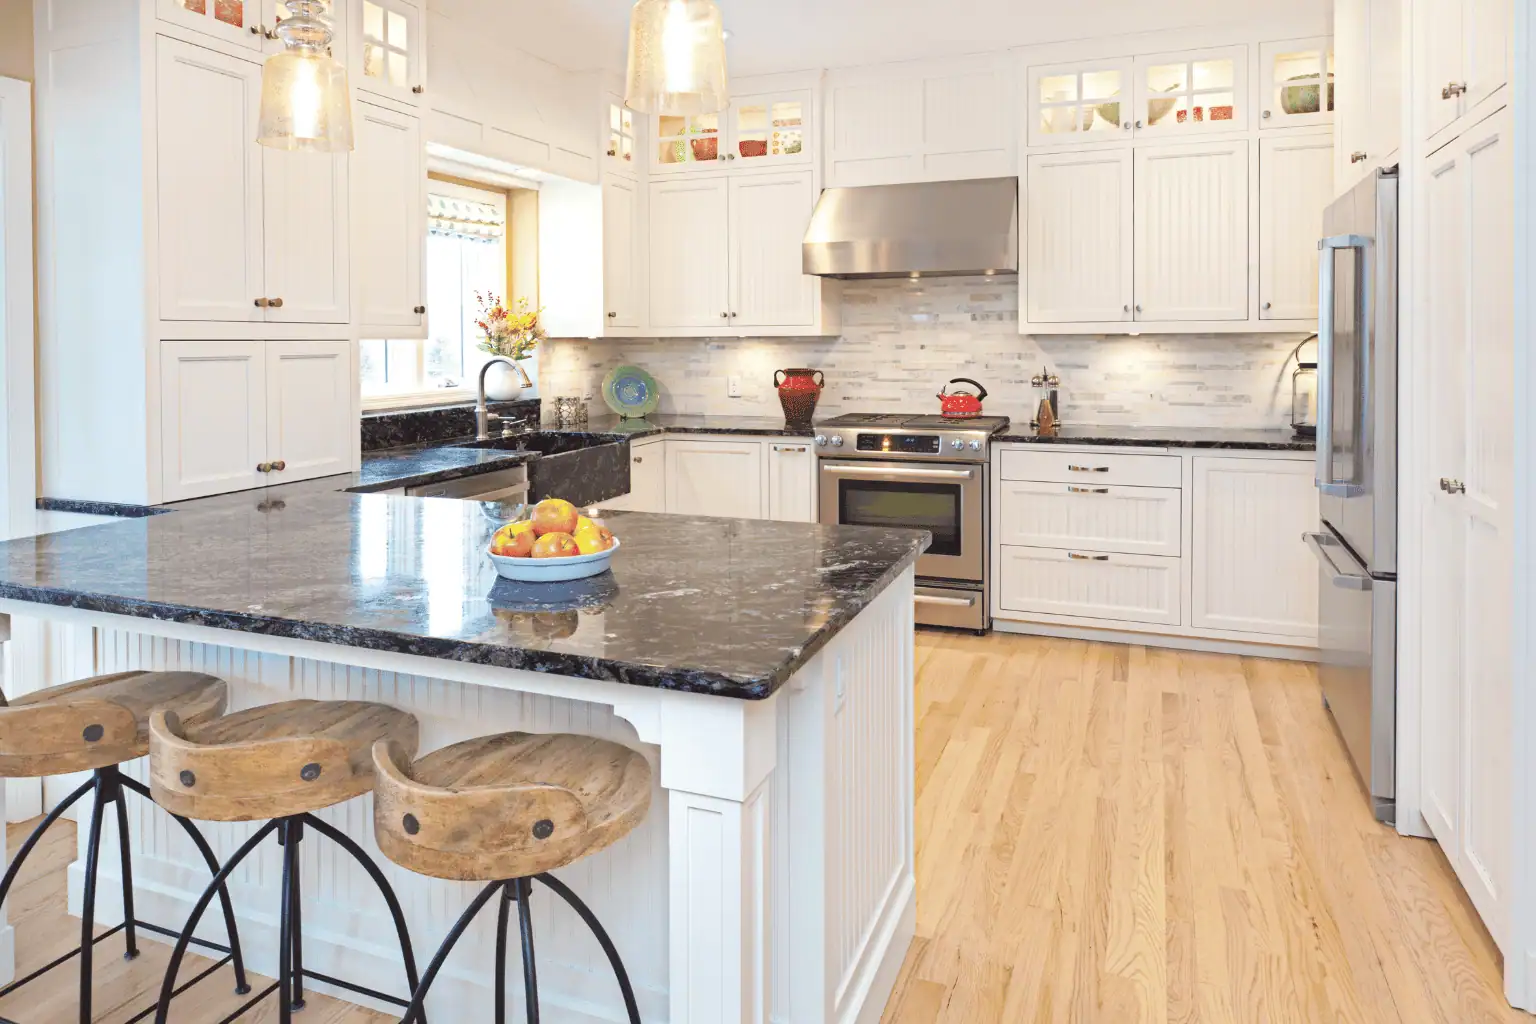
Most homeowners spend weeks picking out cabinets, countertops, and backsplash tile during a kitchen remodel. The range hood usually gets about five minutes of thought. Pick one that matches the other appliances, mount it over the stove, and move on.
That’s how ventilation problems start. And in Houston’s climate, where humidity is already working against you ten months out of the year, a poorly ventilated kitchen doesn’t just smell bad. It causes grease buildup on your new cabinets, moisture damage inside your walls, and air quality problems you can feel but can’t always see.
Here are the ventilation mistakes we run into most often in kitchens across Cypress, Tomball, Katy, and the greater Houston area, and what to do instead.
Why Kitchen Ventilation Matters More Than Most People Think
A range hood does two things. It captures grease, smoke, and moisture at the cooktop before they spread through the room, and it exhausts that air outside. When either of those functions breaks down, the kitchen suffers.
Grease particles settle on cabinet faces, countertops, walls, and ceilings. Over time, they leave a sticky film that dulls finishes and attracts dust. Moisture from boiling, steaming, and simmering raises the indoor humidity level, which in Houston means your HVAC is fighting even harder to keep the house comfortable. And cooking byproducts like carbon monoxide, nitrogen dioxide, and fine particulates from gas burners degrade indoor air quality in ways that don’t always register until someone in the household starts dealing with headaches or respiratory irritation.
Good ventilation handles all of this quietly. Bad ventilation makes every other investment in the kitchen work harder and age faster.
Mistake 1: Choosing a Hood Based on Looks Instead of CFM
CFM stands for cubic feet per minute. It measures how much air the hood can move. And it’s the single most important spec to get right.
A lot of homeowners pick a hood because it looks good with their backsplash or matches their appliance finish. The airflow capacity is an afterthought, if it’s considered at all. The result is a beautiful hood that doesn’t actually clear the air when you’re searing a steak or boiling a pot of pasta.
The fix: Match your CFM to your cooktop output. For a standard residential gas range, you need roughly 1 CFM per 100 BTU of burner output. If your range produces 60,000 BTU total, you need a 600 CFM hood at minimum. For electric cooktops, a general rule is 10x the width of the cooktop in inches. A 30-inch electric cooktop needs at least a 300 CFM hood.
For high-output pro-style ranges (which we’re seeing more often in kitchen remodels across Cypress and Katy), you may need 900 to 1,200 CFM. At that level, you’ll also need makeup air, which is a code requirement in Texas when exhaust capacity exceeds 400 CFM. More on that below.
Mistake 2: Installing a Recirculating Hood and Calling It Ventilation
Recirculating hoods pull air through a filter and push it back into the kitchen. They don’t exhaust anything outside. For light cooking in a small apartment where ducting to the exterior isn’t possible, they’re better than nothing. For a full kitchen remodel in a house where you have access to an exterior wall or roof, they’re a compromise that costs you in the long run.
A recirculating hood captures some grease on its charcoal filter, but it does nothing for moisture, combustion gases, or odors. The steam from your pasta pot goes right back into the room. The smell from frying fish lingers for hours. And the grease that doesn’t get caught by the filter settles on everything else.
The fix: Always duct to the exterior when the layout allows it. In most Houston-area homes, an exterior wall or roof penetration is achievable. If your kitchen is on an interior wall, the ductwork run is longer and may need to route through the attic, but it’s still worth doing. The difference in air quality and cabinet longevity between a ducted and a recirculating hood is significant.
If your current remodel plan includes a recirculating hood because someone said ducting is “too complicated,” it’s worth getting a second opinion from a contractor who has routed ductwork through tighter layouts. This is part of the planning work we do as part of our kitchen remodeling services.
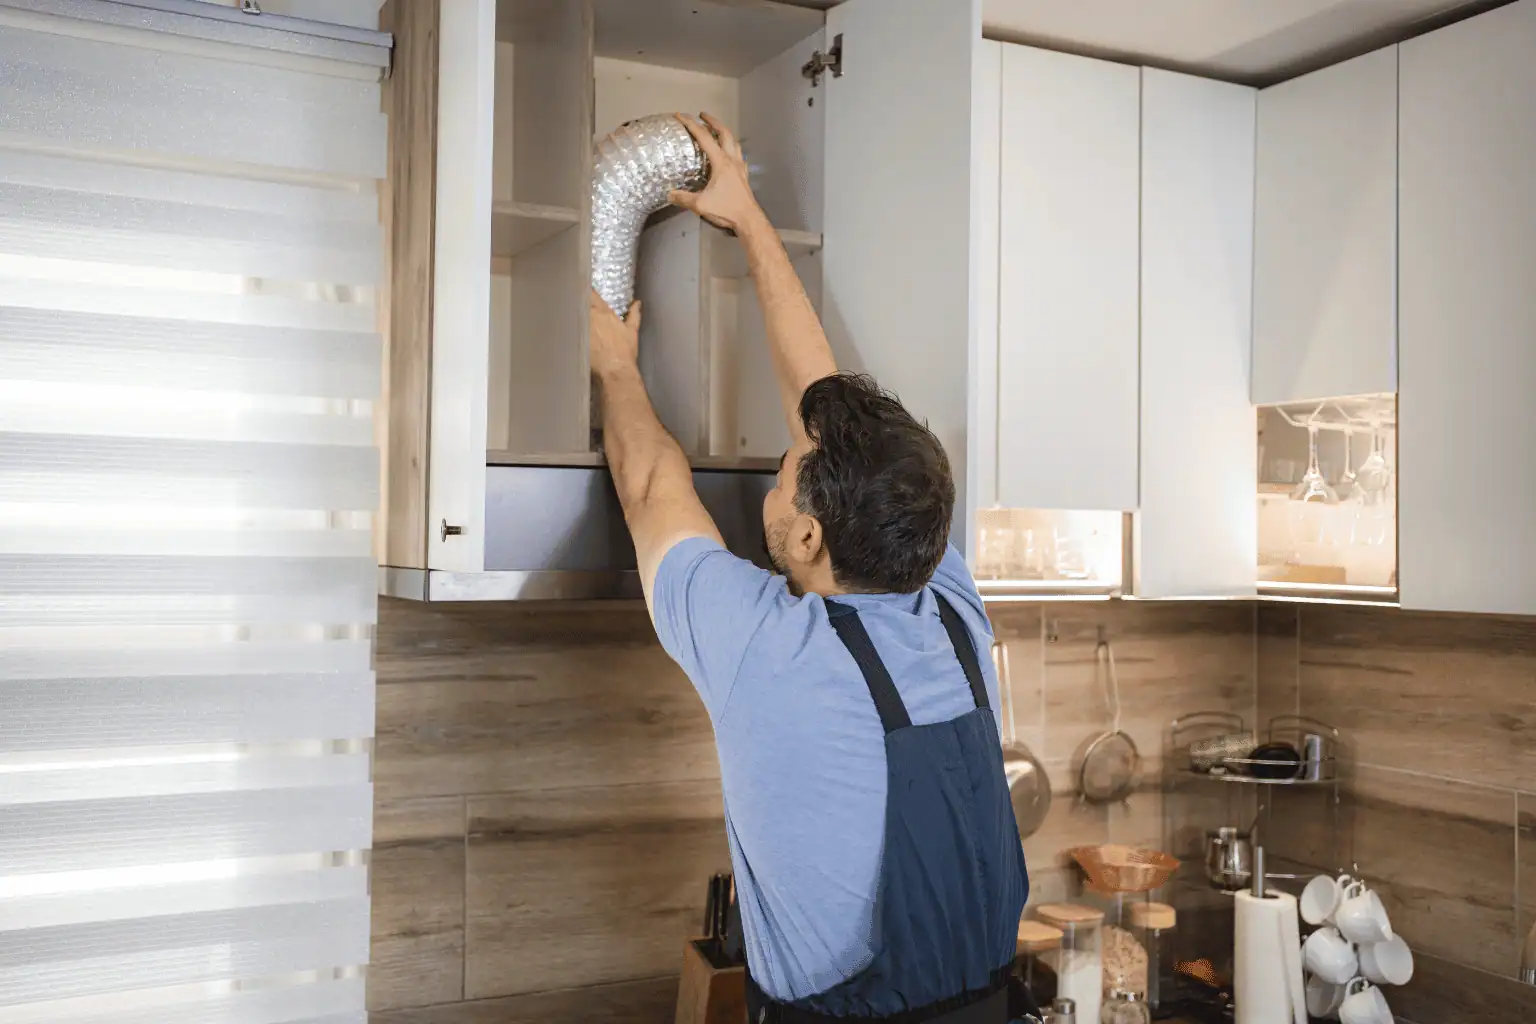
Mistake 3: Undersized or Oversized Ductwork
The duct connecting your hood to the exterior matters just as much as the hood itself. Too small, and the air can’t move fast enough, which makes the hood louder and less effective. Too large, and the airflow velocity drops, which means grease settles inside the duct instead of being carried outside.
The most common problem we see is 4-inch round duct connected to a hood that needs 6-inch or 8-inch. This happens when a builder or previous contractor used whatever duct was on hand rather than matching it to the hood’s specifications.
The fix: Follow the hood manufacturer’s duct size recommendation exactly. Most residential hoods need 6-inch round or 3.25 x 10-inch rectangular duct. Higher-CFM hoods (600+) typically need 8-inch round. Keep duct runs as short and straight as possible. Every 90-degree elbow in the run reduces effective airflow, so minimize turns. And never use flexible vinyl dryer duct for a range hood. It traps grease, sags over time, and is a fire hazard.
Ignoring Makeup Air Requirements
This is the mistake that catches the most homeowners (and even some contractors) off guard.
When a powerful range hood pulls 400 to 1,200 CFM of air out of the kitchen, that air has to be replaced from somewhere. In older, leakier homes, replacement air seeps in through gaps around windows, doors, and the building envelope. In newer, tighter homes (and especially in homes with good insulation and weathersealing), there isn’t enough natural infiltration to replace the air being exhausted.
The result is negative pressure inside the house. The hood struggles to pull air because there’s nothing coming in to replace it. You might notice doors that are suddenly hard to open, a whistling sound near windows, or a gas fireplace or water heater that starts backdrafting (pulling exhaust gases back into the house instead of venting them outside). Backdrafting is a genuine safety hazard.
Texas building codes and the International Residential Code require makeup air provisions for range hoods rated above 400 CFM. That typically means installing a dedicated makeup air damper that automatically opens when the hood turns on, allowing fresh outdoor air into the home to balance the pressure.
This needs to be planned during design, not discovered during inspection. Your contractor should know the CFM rating of the hood you’ve selected and whether your home needs a makeup air system to support it.
Mounting the Hood Too High Above the Cooktop
Hood mounting height matters more than most people realize. The standard recommendation is 24 to 30 inches above the cooking surface for most residential hoods, and 30 to 36 inches for higher-CFM commercial-style hoods. These numbers come from the hood manufacturer and they exist for a reason.
Mount the hood too high and the capture zone shrinks. Cooking fumes, grease, and steam rise and spread before they reach the hood opening, so a significant portion escapes into the room. You end up with a powerful fan running at full speed that still isn’t catching everything because it’s too far from the source.
Mount it too low and you block sightlines, bump your head, and create a fire risk with certain high-heat cooking methods.
The sweet spot depends on your specific hood model and cooktop type. Check the manufacturer specs and make sure your cabinet installer and contractor are both building to that dimension. If you’re pairing new ventilation with a custom cabinetry installation, the hood height should be locked in before the upper cabinet layout is finalized, because it affects the size and placement of everything around it.
Venting Into the Attic or Soffit Instead of Outside
This seems obvious, but it happens more than you’d expect, especially in DIY installations or older remodels where cutting through an exterior wall felt like too much work.
Kitchen exhaust must vent to the outside of the house. Venting into the attic pushes moisture, grease, and heat into an enclosed space where it causes wood rot, mold, and insulation damage. In Houston’s heat and humidity, attic-vented kitchen exhaust is essentially a recipe for mold growth in the roof deck.
The duct should terminate at an exterior wall cap or roof cap with a damper that opens when the fan runs and closes when it stops (to prevent bugs, rain, and outside air from coming back in). Verify this is part of your installation plan. If you’re working with a contractor on a full kitchen remodel, this should be standard practice, but it’s worth confirming.
Forgetting About Noise
A 1,200-CFM hood running at full speed can produce 8 to 10 sones of noise, which is roughly the volume of a loud conversation or a running garbage disposal. If your kitchen opens to a living room or dining area (which is the case in most open-concept Houston homes), that noise level becomes a real quality-of-life issue. People stop using the hood because it’s too loud, which defeats the entire purpose.
Look for hoods with variable-speed fans so you can run at a lower, quieter setting for everyday cooking and only ramp up to full power when you’re searing, frying, or generating heavy steam. Some higher-end hoods use external or inline blowers mounted in the duct run or at the roof cap, which moves the motor noise away from the kitchen. It adds cost but makes a meaningful difference in how the kitchen actually feels to use.
If you’re planning an open-concept layout as part of a larger renovation, factor hood noise into your design decisions early. Our breakdown of kitchen remodeling cost in Houston covers how ventilation fits into the bigger budget picture, and the layout, ceiling design, and hood selection all interact. It’s much easier to solve noise in the planning phase than after the kitchen is built.
Frequently Asked Questions
What size range hood do I need? For gas ranges, calculate 1 CFM per 100 BTUs of total burner output. For electric or induction, start at 300 to 400 CFM for a 30-inch cooktop and 600 CFM or more for 36-inch or larger. Always check the hood manufacturer’s recommendation for your specific cooktop.
Is a ductless range hood worth it? It’s better than nothing, but it doesn’t remove moisture, heat, or combustion gases from the kitchen. It only filters some grease and odor and recirculates the air. If you have any way to run ductwork to an exterior wall, a ducted hood is the better investment.
How often should I clean my range hood filters? Mesh or baffle filters should be cleaned every one to three months depending on how often you cook. Most metal filters are dishwasher safe. Charcoal filters in ductless hoods need to be replaced (not cleaned) every three to six months.
Do I need a makeup air system? If your range hood is rated above 400 CFM, Texas building codes generally require makeup air provisions. Your contractor should evaluate whether your home’s natural air infiltration is sufficient or whether a dedicated makeup air damper needs to be installed.
Can I install a range hood myself? Simple ductless hood replacements are manageable for experienced DIYers. But any installation that involves cutting through walls or ceilings, running new ductwork, or wiring electrical should be handled by a licensed contractor. Improper duct routing and venting are the most common sources of ventilation failure, and they’re difficult and expensive to fix after the fact.